Integration via WordPress plugin
Install the plugin and show the cookie banner
Requirements and compatibility
Before proceeding with the installation, make sure your WordPress site meets the following requirements:
- Minimum WordPress version supported: 5.3
- Compatibility with major themes and page builders (e.g. Elementor, WPBakery)
- Administrator access to the WordPress control panel
Installation steps
- Log in to your WordPress dashboard.
- Go to the Plugins section and click on Add new.
- Search for "Avacy" in the plugin search field.
- Click on Install now and then on Activate.
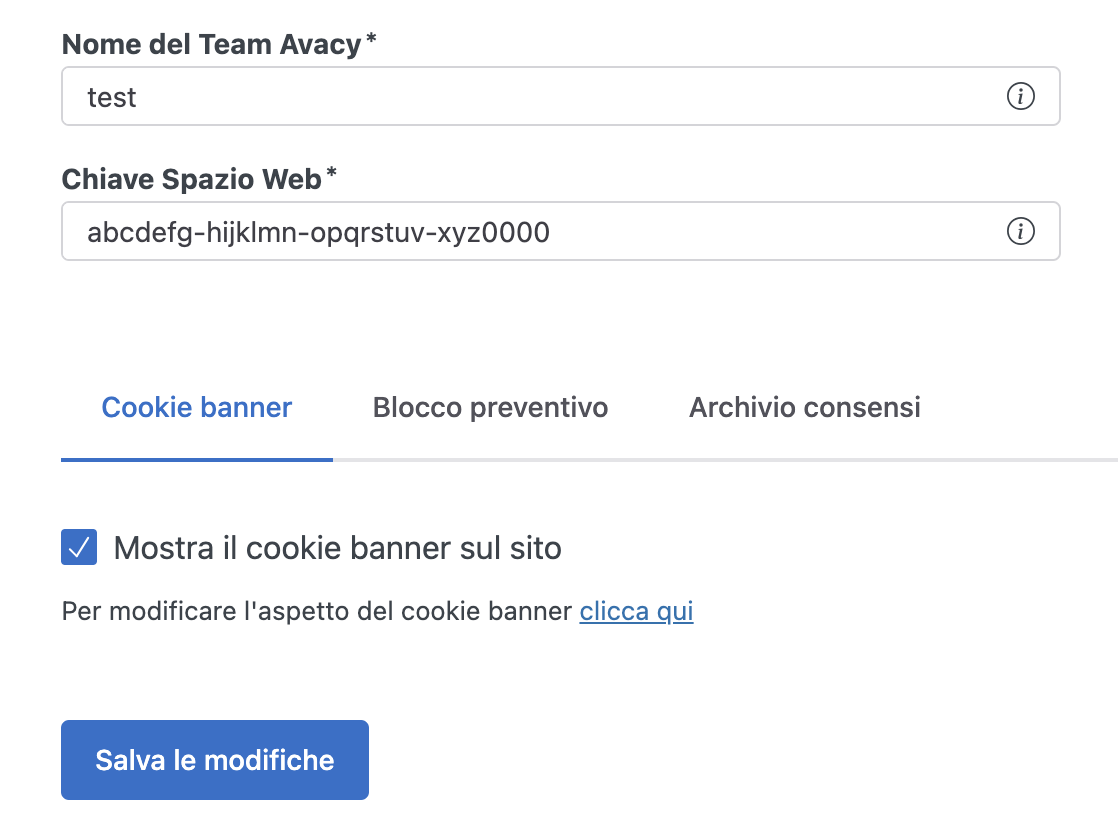
Once activated, access the plugin settings from the dashboard, connect your Avacy account to the plugin by entering the team name and key - both fields can be found in the Embed the banner on your web space section by selecting * WordPress* in the drop-down menu of available options.
Once the plugin is connected, simply tick the checkbox with the option *Show the cookie banner on your site.
WP Consent API integration
Avacy is compatible with the WP Consent API plugin, the WordPress standard for centralized consent management.
When the WP Consent API plugin is active on the site, Avacy automatically detects it and:
- registers itself as a compliant CMP (no configuration required);
- forces the consent type to
optin, so other plugins relying on WP Consent API behave conservatively by default; - forwards the user's banner choices to the framework via
wp_set_consent, mapping Google Consent Mode flags to WP Consent API categories.
The mapping applied is the following:
| WP Consent API category | Granted when the user accepts… |
|---|---|
functional | always allow |
preferences | personalization_storage |
statistics | analytics_storage |
statistics-anonymous | analytics_storage |
marketing | any of ad_storage, ad_user_data, ad_personalization |
If the WP Consent API plugin is not installed, the integration stays dormant and Avacy keeps working as usual.